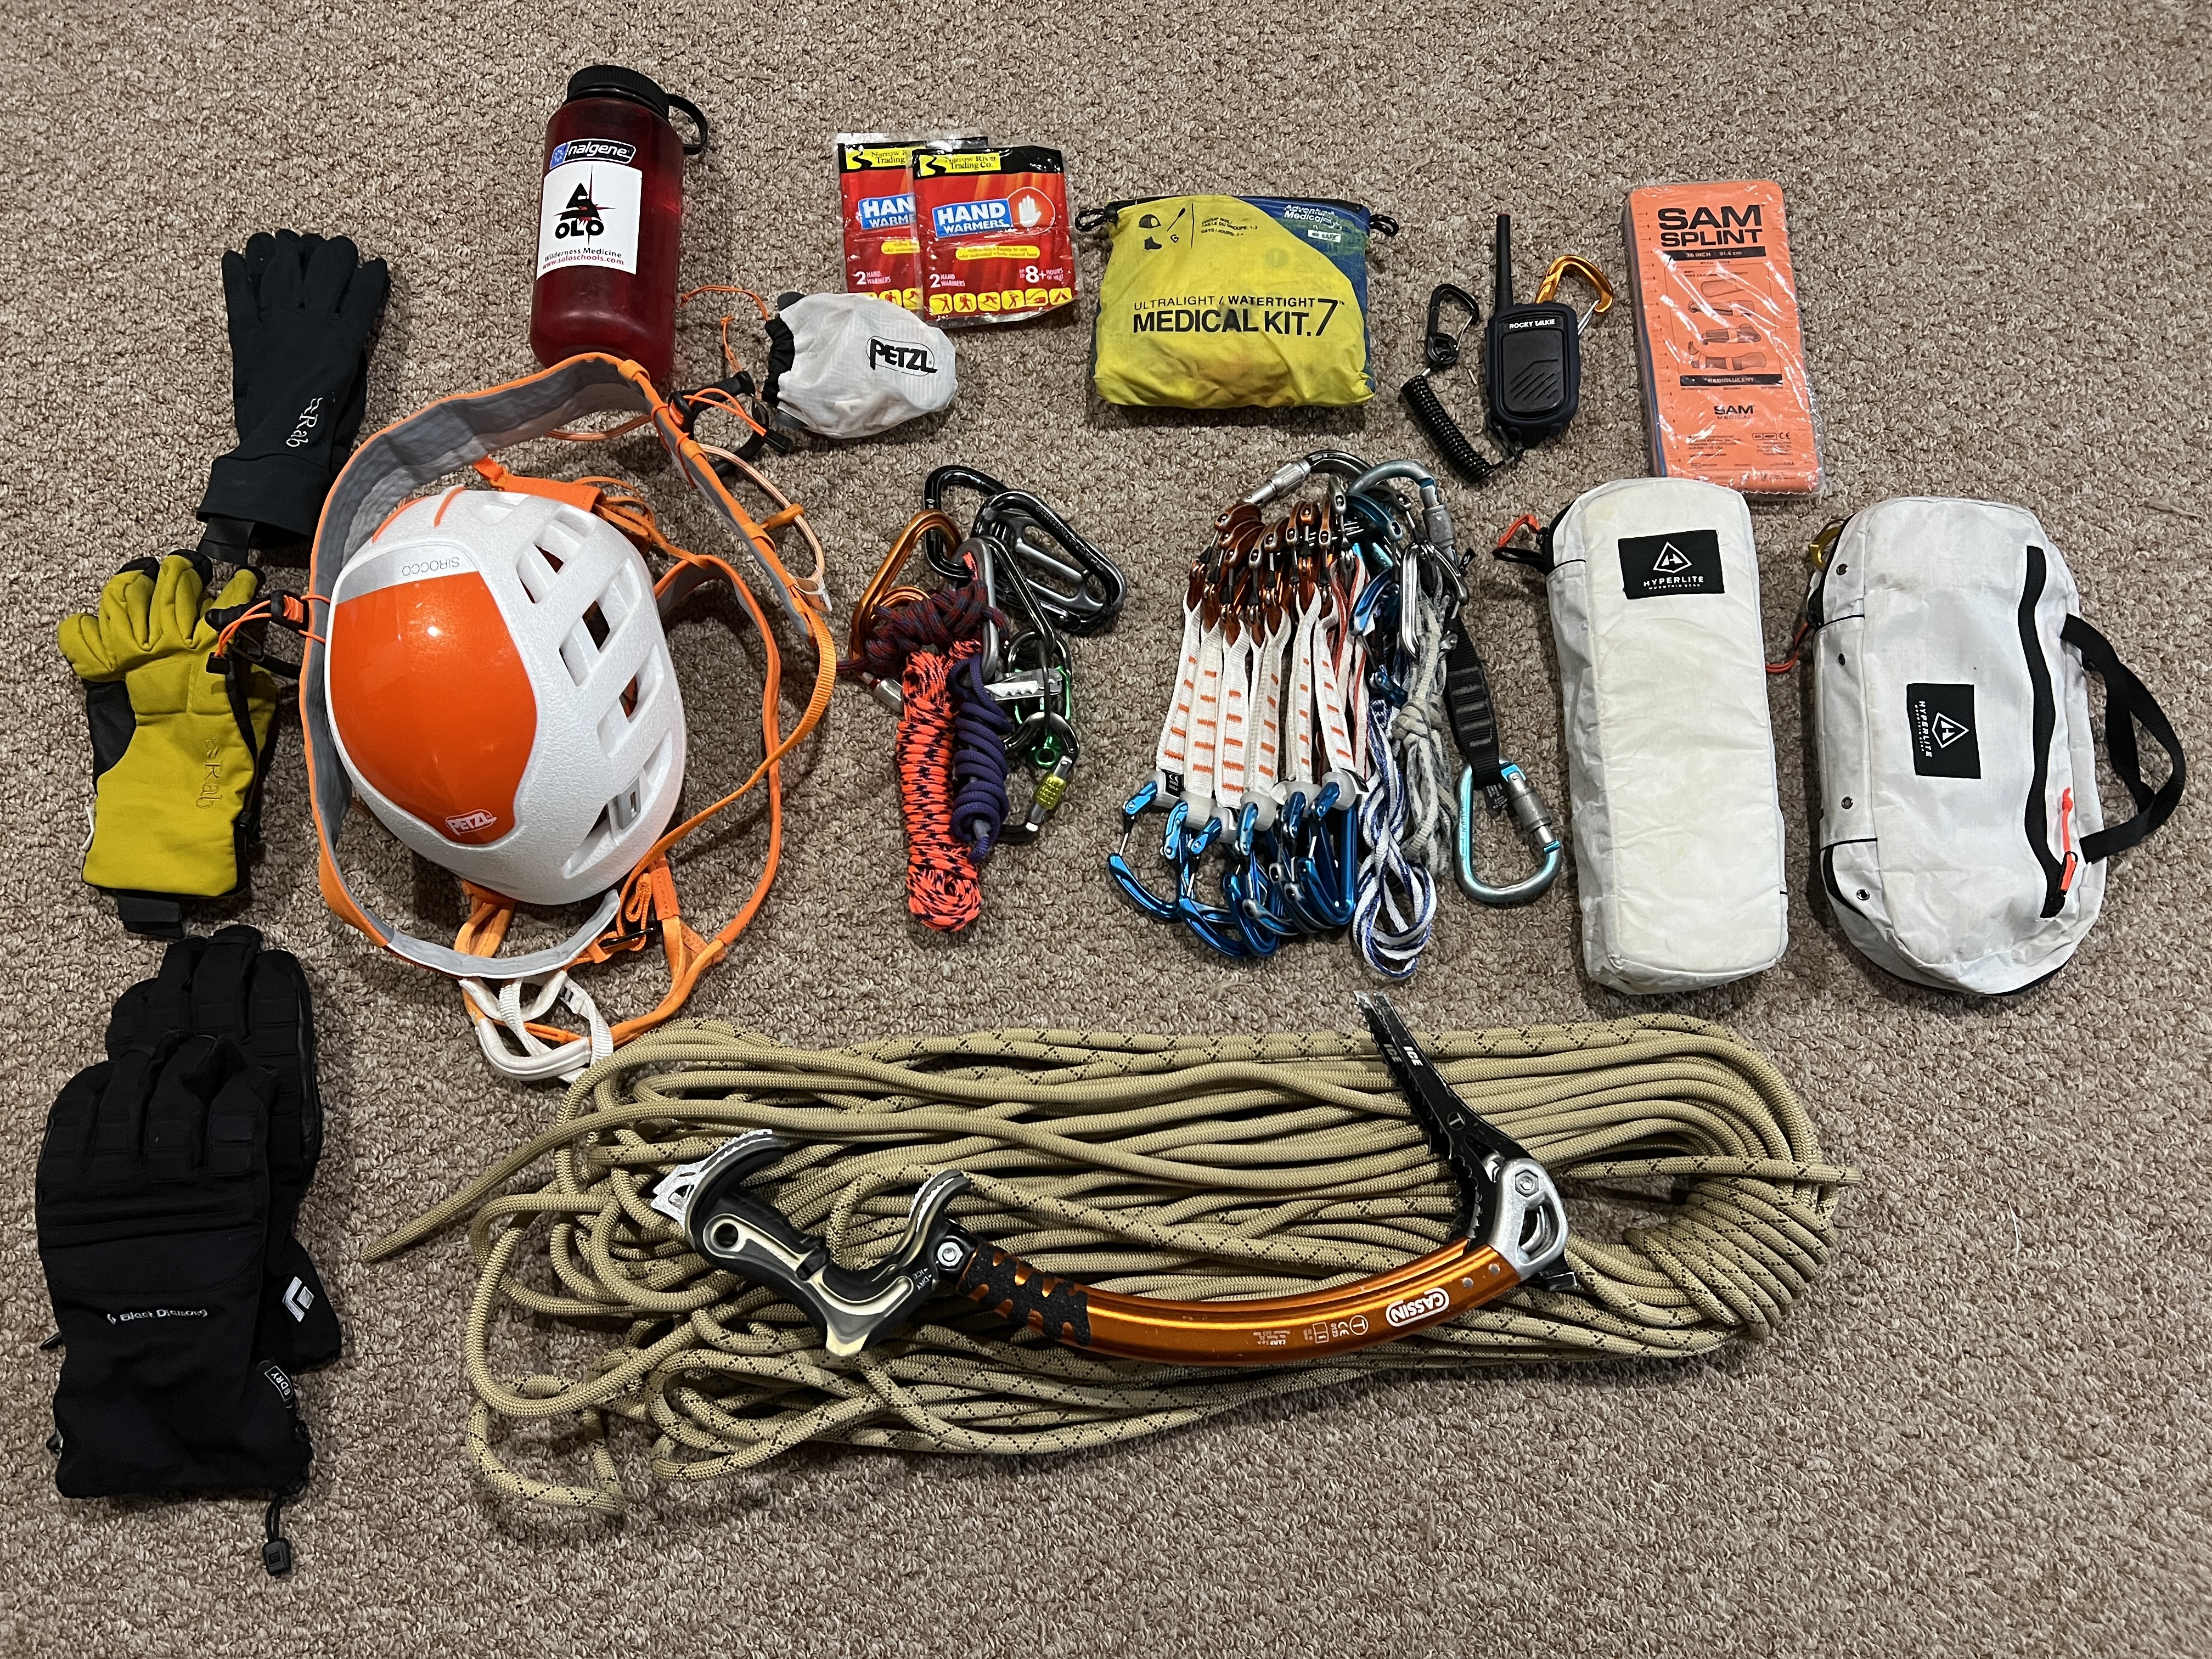
While the New England ice climbing season is off to a bit of a sluggish start a follower recently asked if I had a gear list for what I take ice climbing. Thanks for the inspiration for this post Kyle! I’m going to list items in the order that I usually pack my pack.
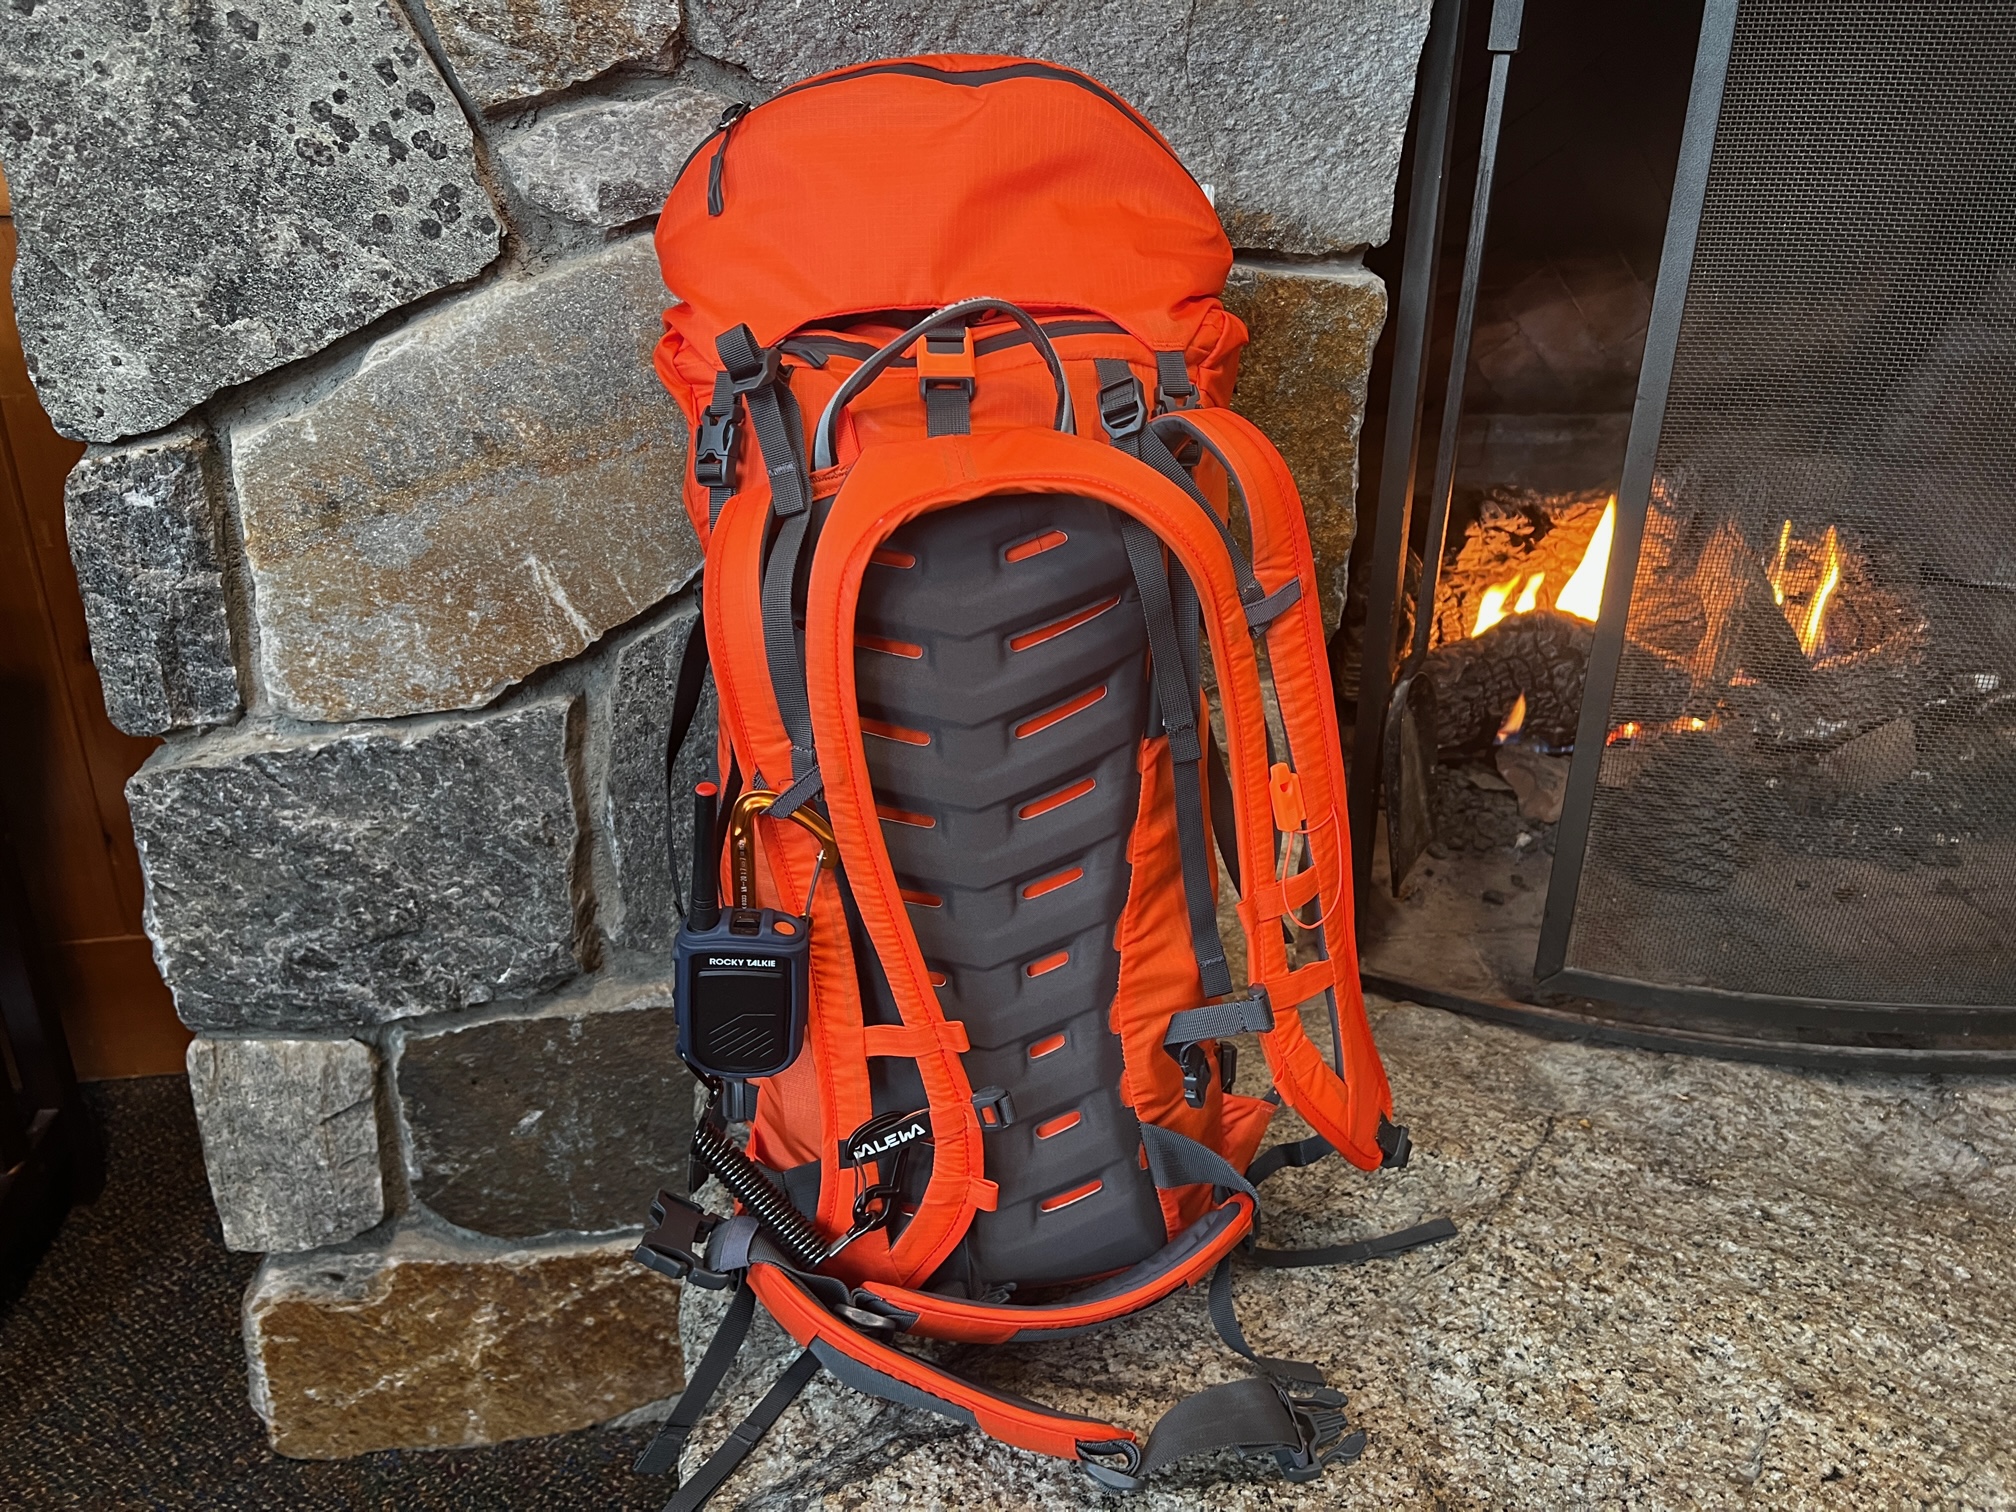
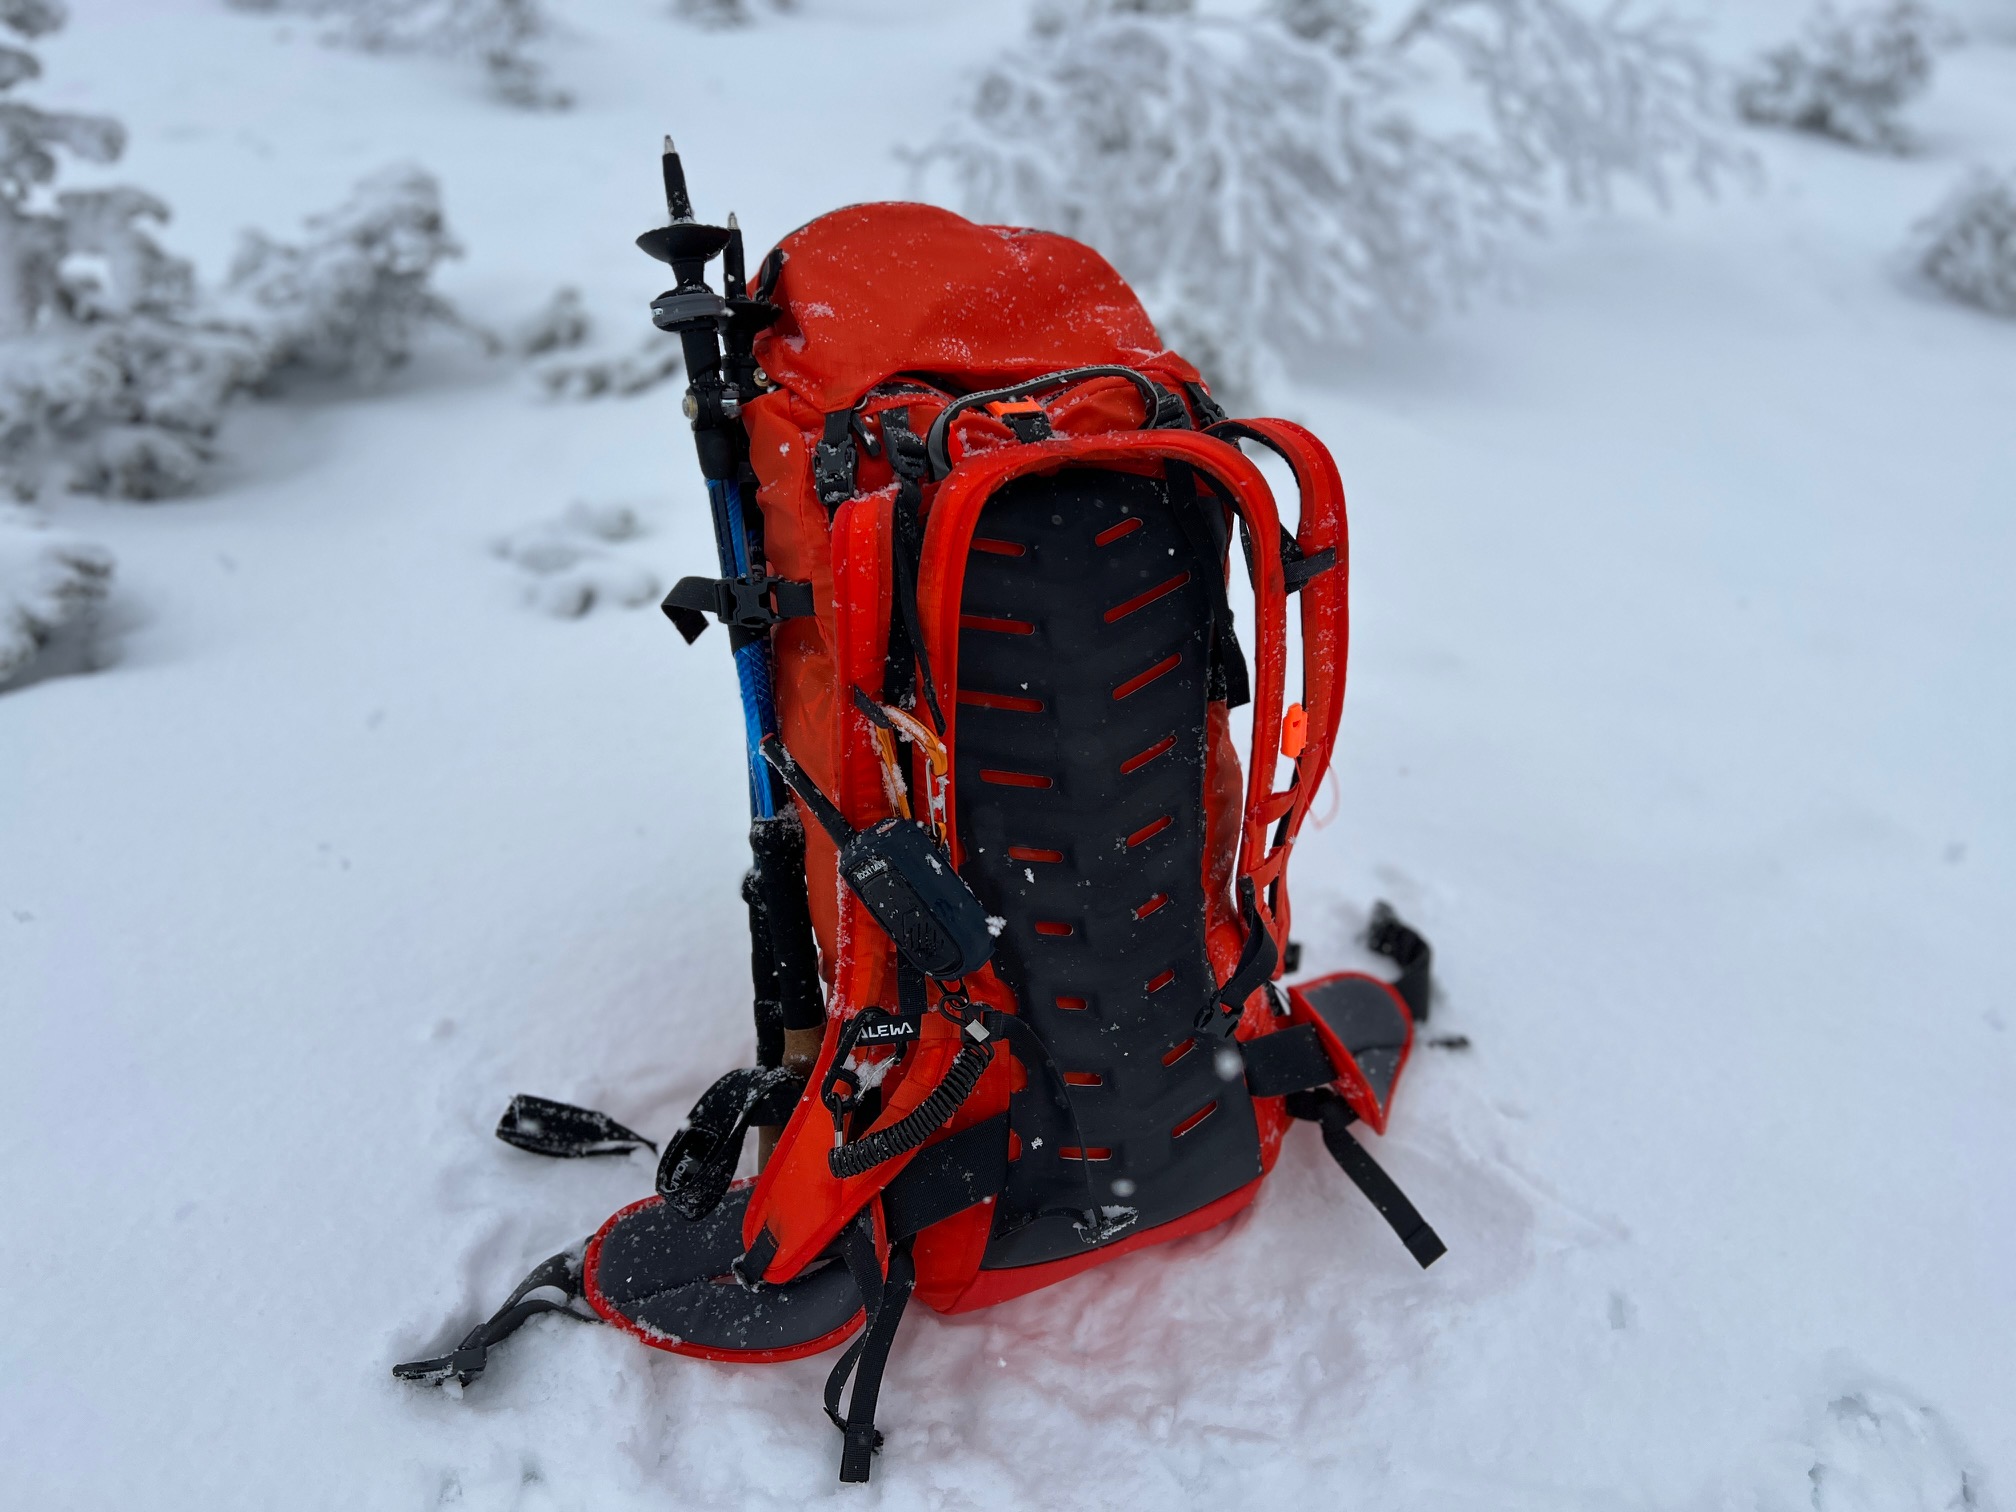
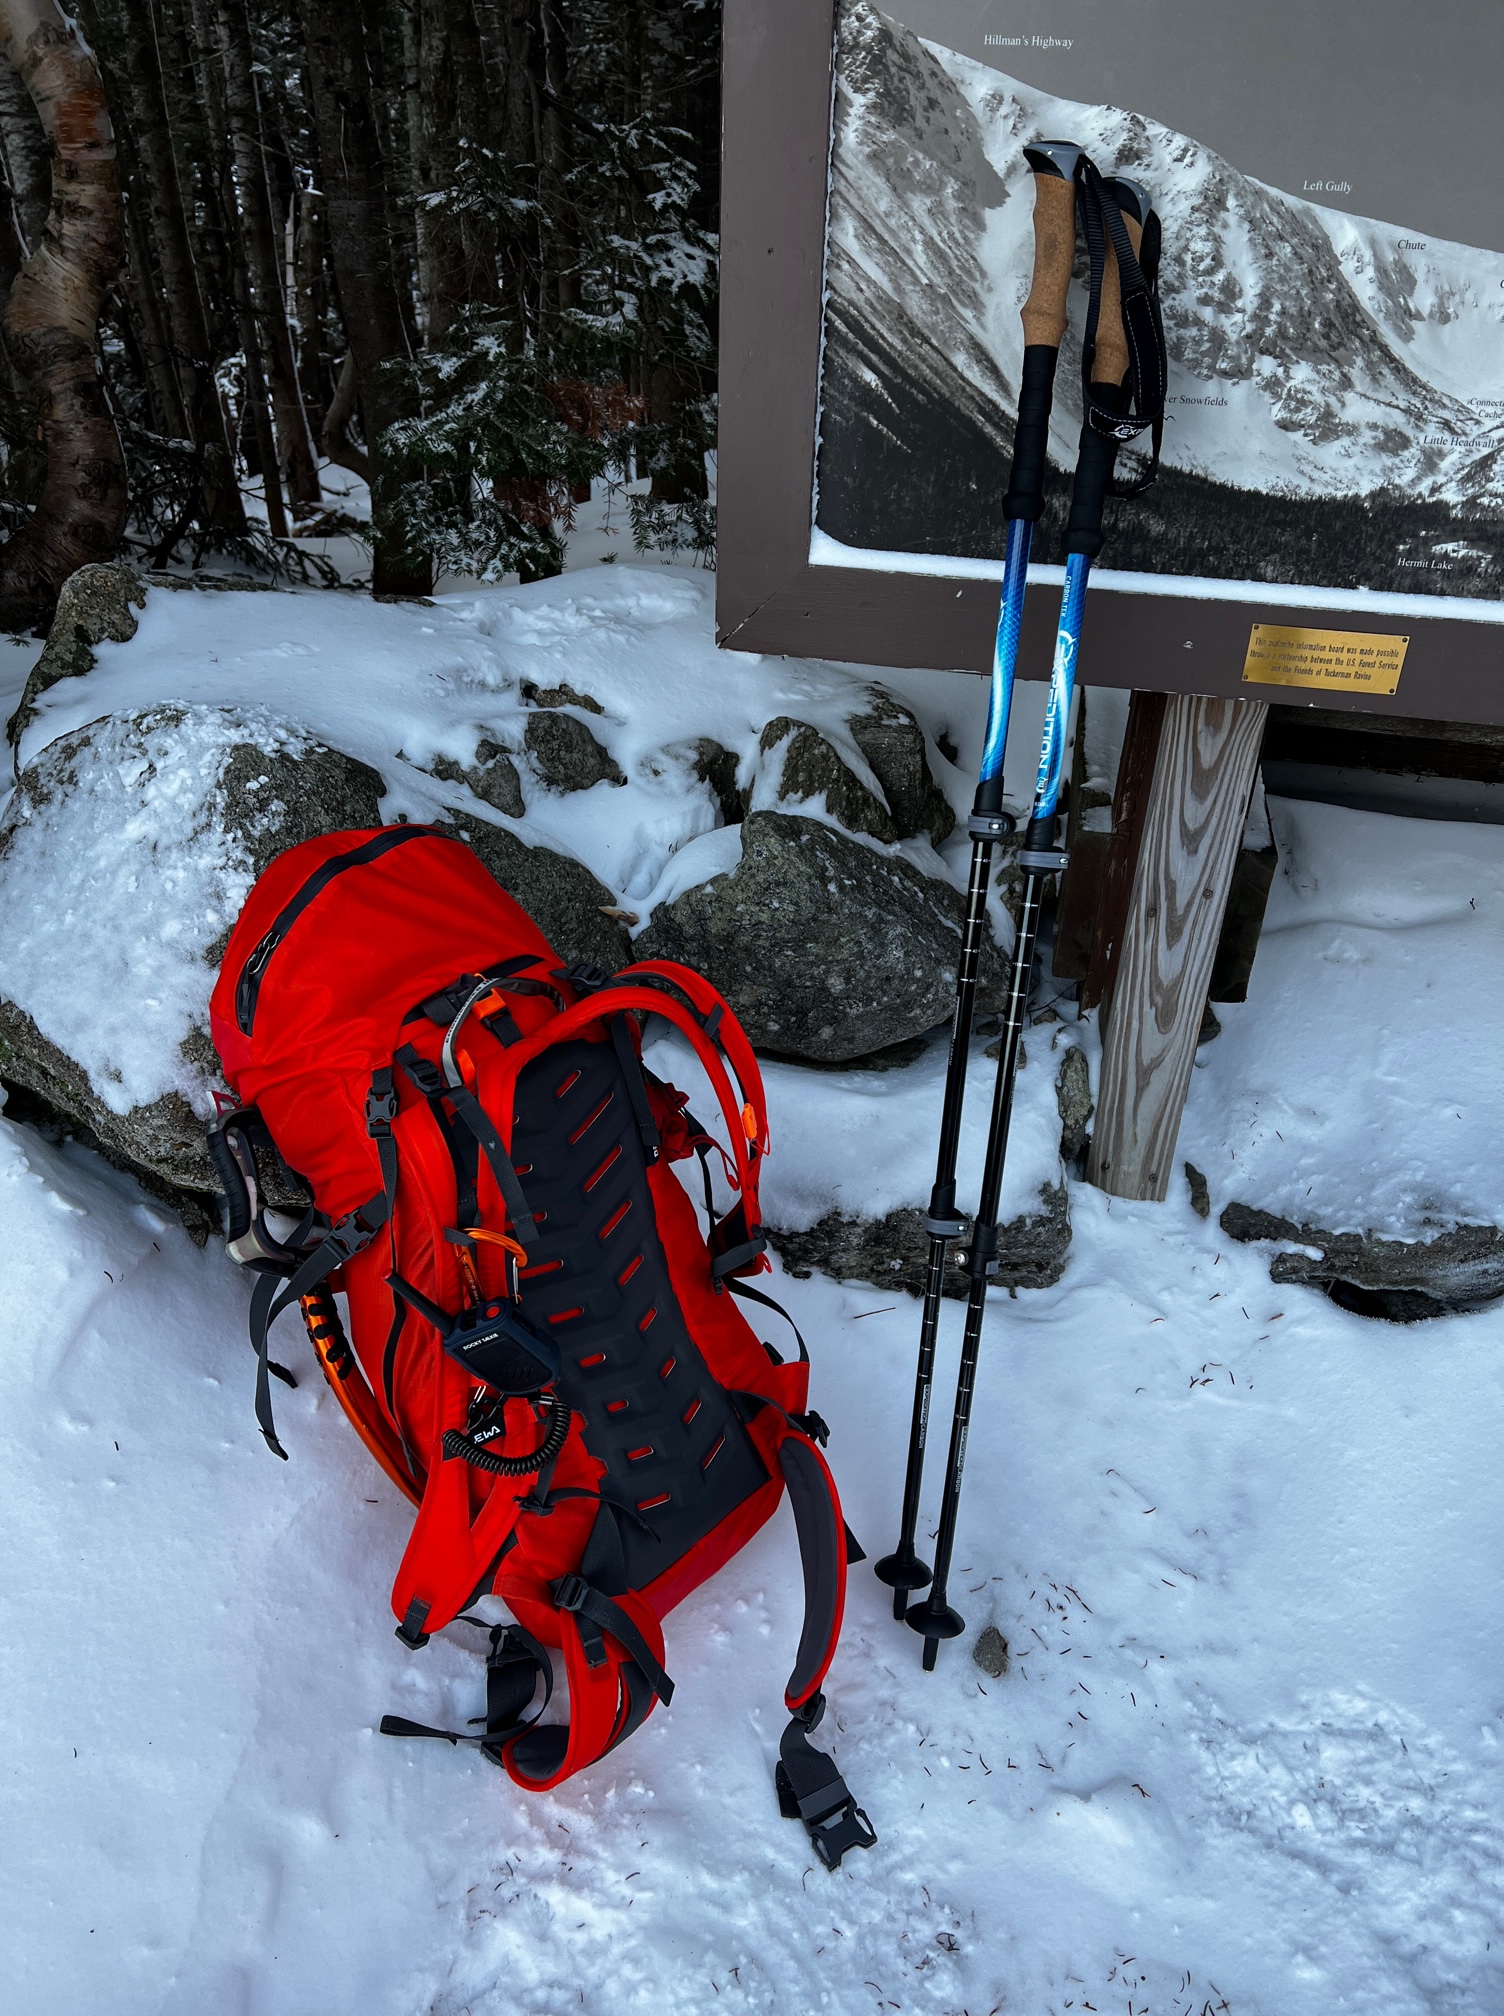
Hyperlite Mountain Gear Prism Pack

I’ve tested over a dozen packs specifically designed for waterfall ice climbing and this pack has held onto my #1 spot for best ice climbing pack. You can find my full review of this pack here.
If there is any chance of mixed or liquid precipitation I prefer the reliability of a synthetic insulated belay parka, and the Patagonia DAS Parka is an industry leading choice.
If there is zero chance of encountering mixed or liquid precipitation I prefer the warmth and packability of a down insulated belay parka, and for that the Rab Mythic Ultra Jacket is an excellent choice.
Black Diamond First Light Hybrid Hooded Jacket
If it is wicked cold out I’ve been known to pack a second light puffy so I can “double up” on my belay jackets. Conversely, if it’s really mild out I might just up for carrying a lighter puffy then the two jackets I mention above. For that the Black Diamond First Light Hybrid Hooded Jacket is a great choice. You can find my recent detailed review of this one here.
32oz Wide Mouth Nalgene Water Bottle
I typically only carry one 32 ounce wide mouth water bottle for most ice climbing day trips. I do not use any type of insulated parka to keep it from freezing. I just pack in above my belay jackets and close to the small of my back. In the coldest of temps I have never had it freeze when packed up against my back. If I want something with more flavor then water I reach for some of my Skratch Labs stash. If it’s a really cold mission, or a really long day, I also pack an insulated water bottle with some Borvo Broth. This stuff really tastes amazing and is an excellent mid-day energy refresher!

AMK Ultra 0.7 Scout First Aid Kit
I use the AMK Ultra 0.7 Scout First Aid Kit as my base first aid kit then I add a few things to it that just live inside the kit. Like the Petzl e+lite headlamp, a small knife, and a small Bic lighter. I also slide a SAM splint down into the back sleeve of my backpack along with a CAT tourniquet.
Hyperlite Mountain Gear Prism Ice Screw Case
This case is perfect for packing and protecting my ice screws. I’ve used Petzl and Black Diamond screws for over two decades of ice climbing with few complaints. This season I have swapped out almost my entire rack for a set of the new Blue Ice Aero Ice Screws. I’ll have a review out on these as soon as Mother Nature brings the ice back into condition. For sizes my typical set up is one 22cm, eight 13cm, and one 10cm. If heading to the bigger ice at Willoughby I will add four 17 to 19cm screws. I carry a Grivel Candela V-Thread Tool which conveniently nestles inside my 22cm ice screw. In the zippered pocket in the ice screw case I have some zip ties and the allen wrench for my CAMP USA X-Dream Alpine Ice Tools.

For clipping ice screws on lead I highly prefer the Petzl Ange Finesse Quickdraws. Notchless wire gate carabiners are the best, and the larger rope side carabiner on these draws is glove friendly. It’s also a better carabiner if you ever climb on a two rope system. I carry 8 of these racked on a Petzl William Screw Locking Carabiner. On this carabiner I also have a “locker draw” that I build from a Petzl Express Quickdraw Sling and two Petzl Attache Locking Carabiners. There is also one “alpine draw” built with a 60cm Mammut Dyneema 8mm Contact Sling and two Petzl Ange S Wire Gate Carabiners clipped to this large locking carabiner, a 180cm Mammut Dyneema 8mm Contact Sling with two Petzl Ange S Wire Gate Carabiners, and a pre-tied “mini-quad“.

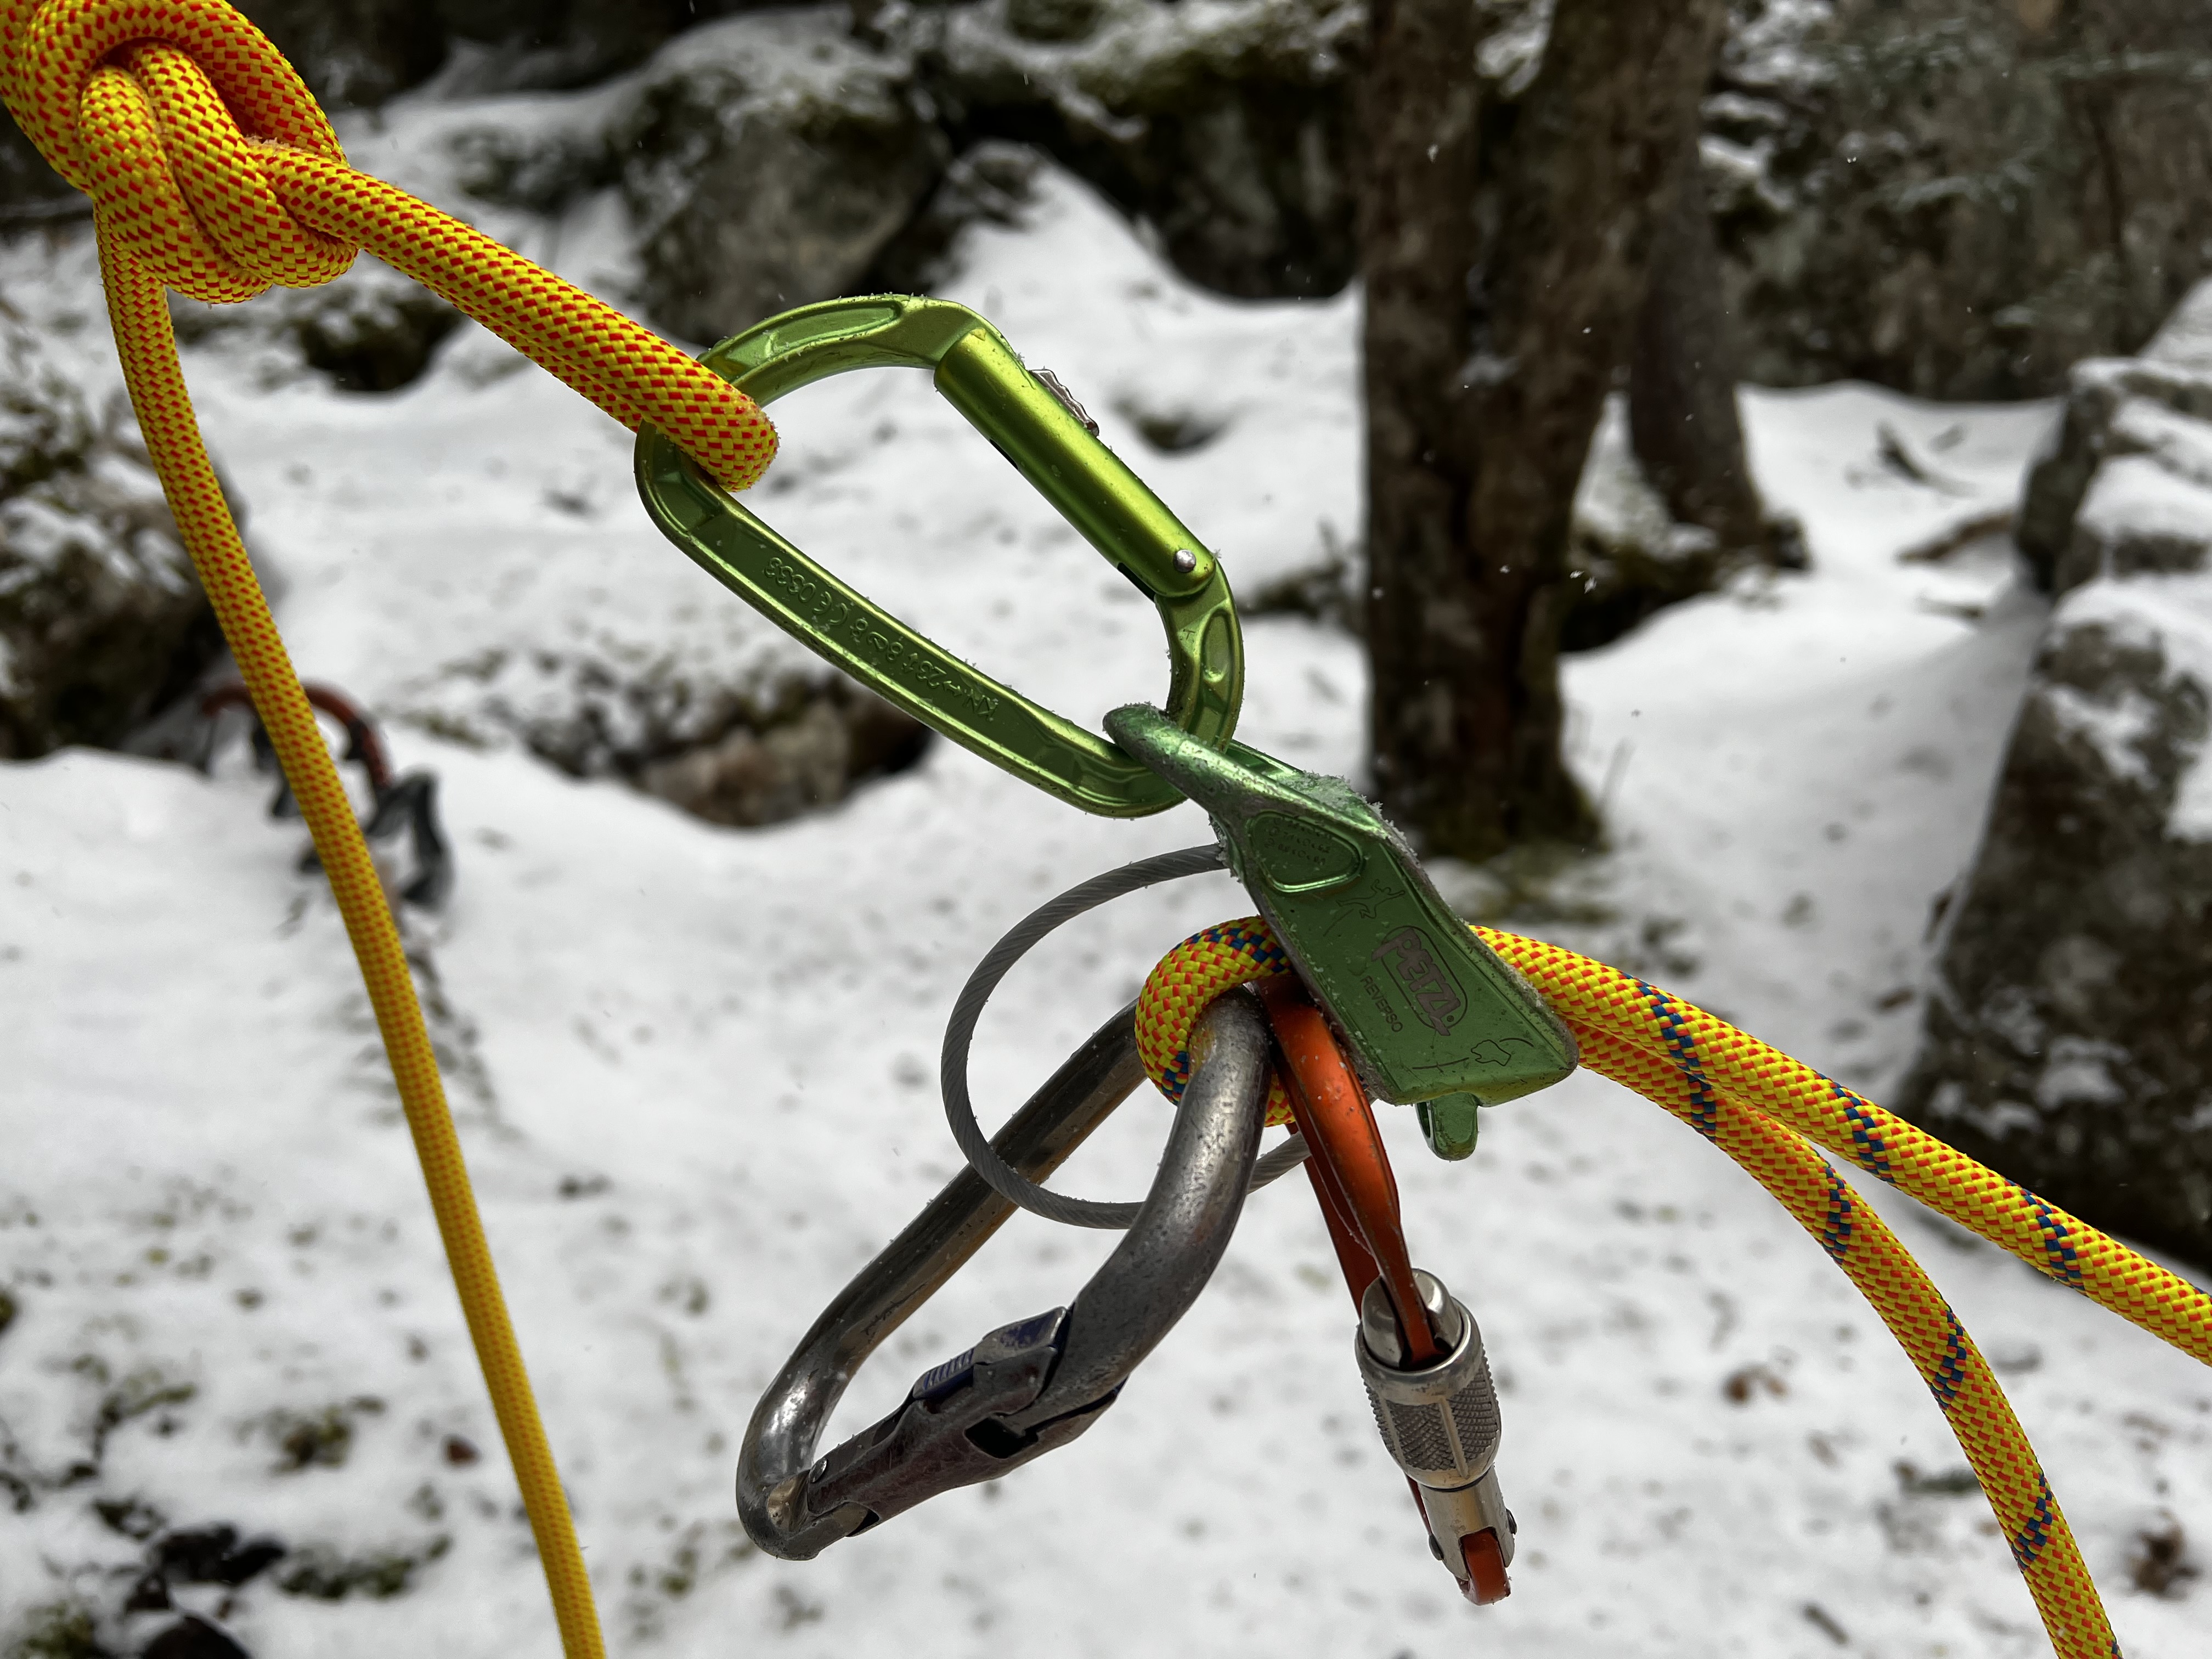
The rest of my climbing hardware is all clipper to a large locking carabiner and includes two Petzl Attache Locking Carabiners, my DMM Pivot Belay Device, a 16 foot length of Sterling Power Cord, a traditional 6mm cord tied into a small prussic, a 40cm Edelrid Aramid Cord, and a small carabiner knife.
Inside my Hyperlite Prism Crampon Bag are my Petzl Dart Crampons and I often stuff a pair of Kahtoola MICROspikes in there as well.
Next I stuff my warmer Black Diamond Guide Gloves in. It has to be heinous out there for me to end up switching into these beasts but I won’t risk not being able to keep my hands warm in the winter so these get packed even though I rarely wear them. I do most of my ice leading wearing CAMP USA Geko Ice Pro Gloves and Rab Power Stretch Pro Glove Liners.
Inside my Petzl Sirocco Helmet (review) or Salewa Piuma 3.0 Helmet (I love both these helmets) I pack my preferred ice climbing harness which is the Petzl Sitta (my review) outfitted with three Petzl Caritools.

In the top pocket of my pack I stick my Petzl IKO Core Headlamp along with some hand warmers, my snacks and food for the day. And since I know you are wondering what my favorite on mountain food choice is I’ll share that hands down the best food to take ice climbing is left over pizza from Flatbread NoCo!
For a rope I prefer the Sterling Rope Fushion Nano IX 9mm by 60m rope. It’s a triple rated rope (single, twin, half) so it is ideal for guiding two clients on multi-pitch ice. I have two of them in the bi-pattern.
While I already mentioned it above my ice tools of choice are the CAMP USA X-Dream Alpine Ice Tools. You can find my original in depth review of these tools here.
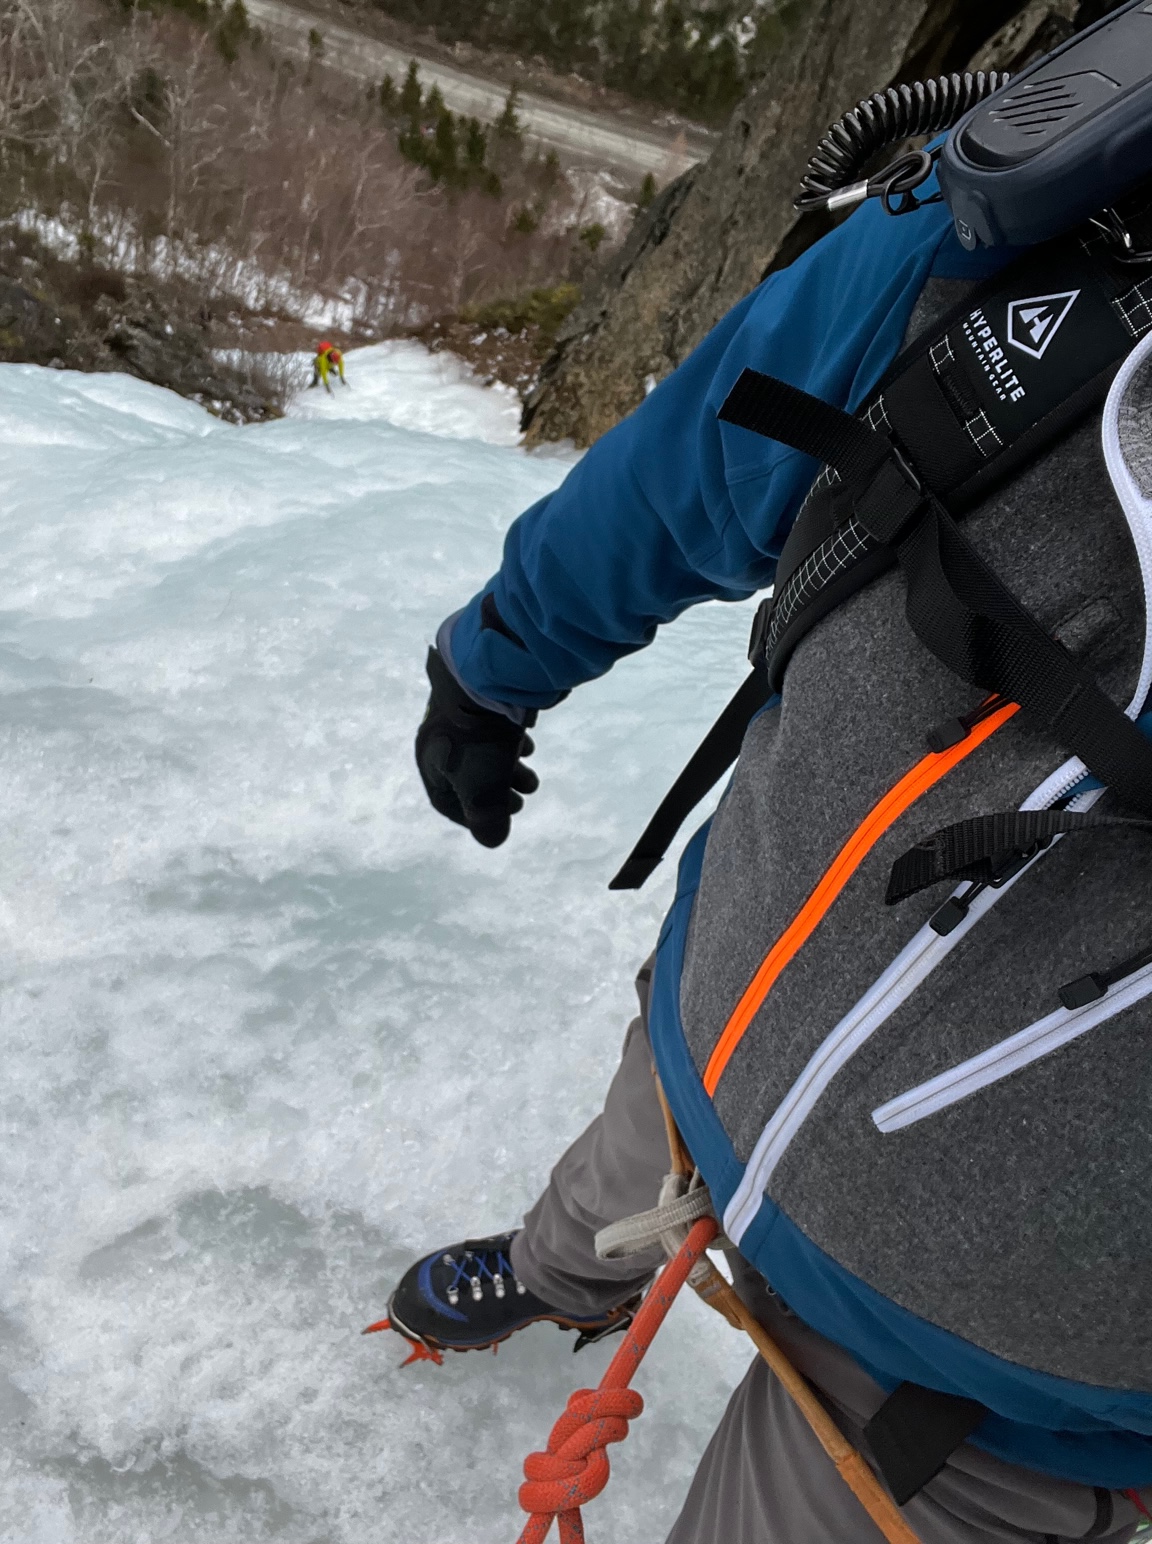
Finally on the outside of my shoulder strap I clip my Rocky Talkie Mountain Radio. If you’ve been following me for awhile you know I’m a huge fan of these radios. They make climbing & skiing so much better than it was before. Did you know you can get ten percent off of them with code “AlpineStart10”?
Links above are affiliate links. That means if you make a purchase from an online retailer after visiting those links I will earn a small commission at no additional cost to you. These commissions keep this blog afloat. Thank you.
Well that pretty much sums up what I pack for a day of ice climbing in the White Mountains of New Hampshire. I can go into my clothing system in another post if there is interest. Did I miss anything? What do you bring that I don’t? Got any questions about anything in my kit? Please comment below if you do have a question or if you found this post helpful in anyway. Temperatures are finally getting colder so I’m hoping to get out later this week and actually use this gear for what it is intended for!
See you in the mountains,
Northeast Alpine Start